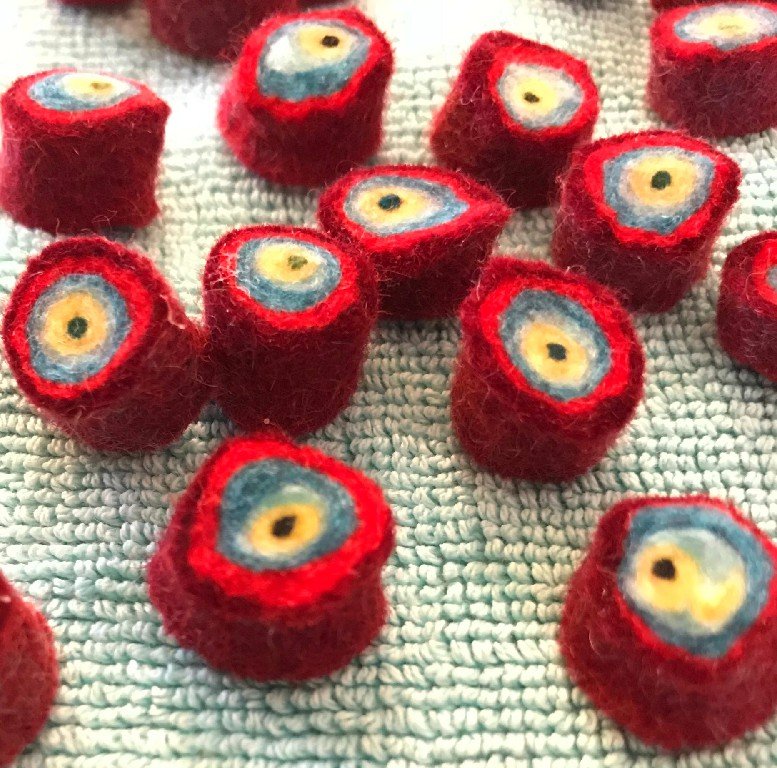
06 Mar Woolie Beads Fantastic
There are many blogs out there and it took me a while to decide what my one should be about.
Since I was a child ,I was always into crafts. I was very lucky that crafts like knitting ,sewing etc. was very much in the swiss school curriculum.
We were thought so many aspects of hand made crafts for several hours every week in school.
Needles to say I loved them afternoons and I had a great teacher .
And as I still love every aspect of crafting I would like to show you what I’m up too on a regular basis.
Feel free to try it out yourself.Most of it will be suitable for beginners.
I won’t always stay true to wet felting and love to try some other crafts at times,but for a start I would like to show you how to make some fancy beads.
Let us start.
I used:
-A wool string,any colour but needs to be pure wool(otherwise it won’t felt into the vlies)
-different colours merino wool vlies
-warm water
-soap
-towel
-rubber mat or bamboo mat
-bubble wrap
-vinegar
As you start your felting journey ,you will soon discover,what works for me might not work for you in my felting technique.There’s no wrong or right way to felt wool. But it’s a must to enjoy the process.
So here we go:
The first picture shows you the wool string arranged on top of merino wool vlies.
Wet the whole piece and role the vlies around the string.
But aside and put down your next colour of merino wool on the mat. Again wet it and place your previous piece into the middle and roll the wool around it.
Keep repeating this process till your happy with the thickness of your beads.
Remember , it will shrink when you start to work it.
When you have the desired thickness ,start to gently squeeze and roll the snake of wool. Use more warm water if you wish and plenty of soap.I wouldn’t recommend washing up liquid as you never get rid of the bubbles and it just doesn’t work as well as ordinary soap. I use Dove or Palmolive .
Keep rolling for about 5-10 minutes.
But it may take longer depending on the thickness.
When you’re happy ,wash it out under the running tap, add some vinegar and water into a dish and give it it’s final rinse.Vinegar neutralizes the soap and helps to keep the colours fibrant.
And now it gets exciting…..cut of the beads . And are you happy with the result.I was certainly with mine.
Let them dry and then they are ready to use for jewellery making or other projects.
The following pictures speak for themselves and you should be able to follow them.
But if you’d like to ask me more about it,feel free and add your comment. I’ll be happy to answer any questions you may have.
I would also love to see the beads you did yourself …….
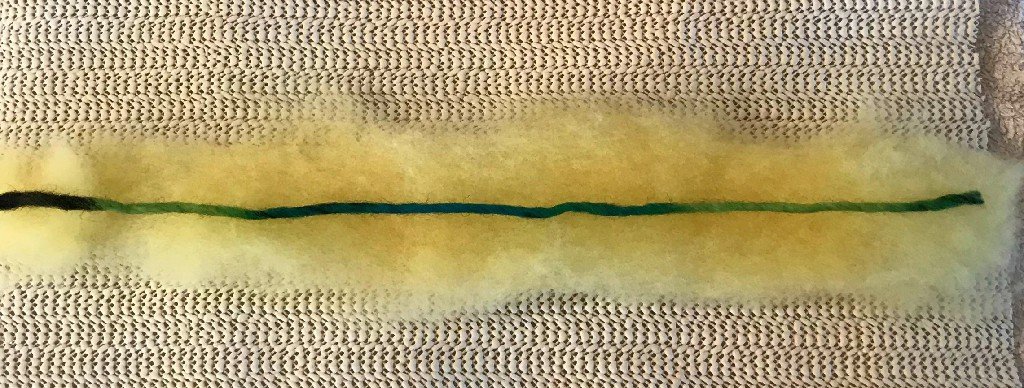
I put the wool on a rubber mat so it stays in place when I wet it.I also cover the piece with a mat.Just to be sure it stays there.

All rolled up and already on the next layer of wool in a different colour.
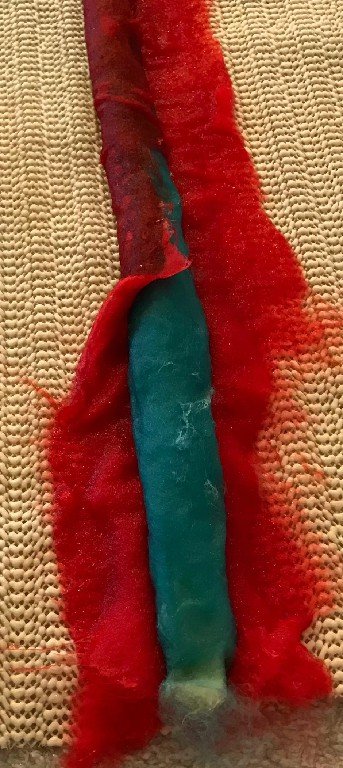
Repeat as many times as you like with any colour you want.
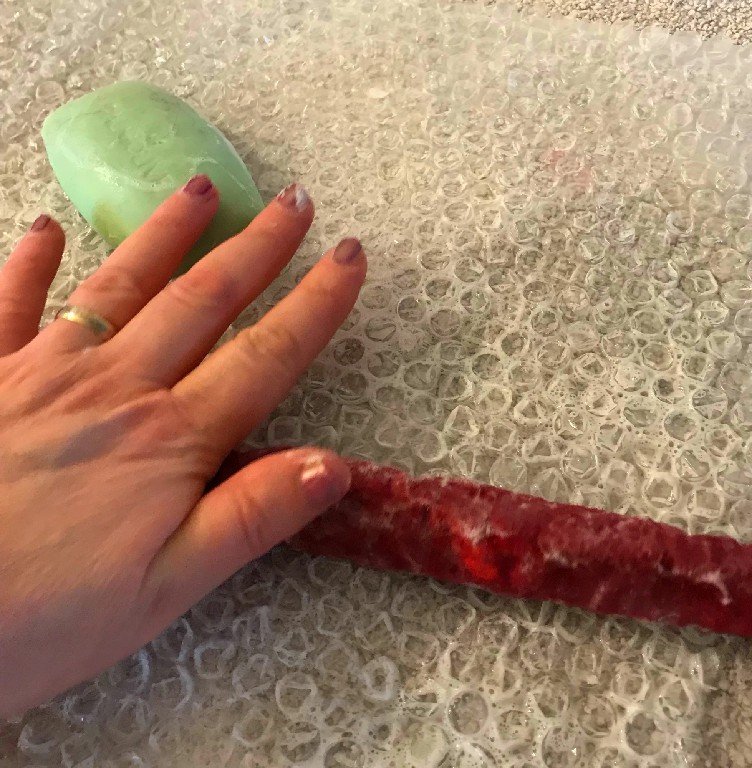
Then roll it,but wait till you have all the layers on it.
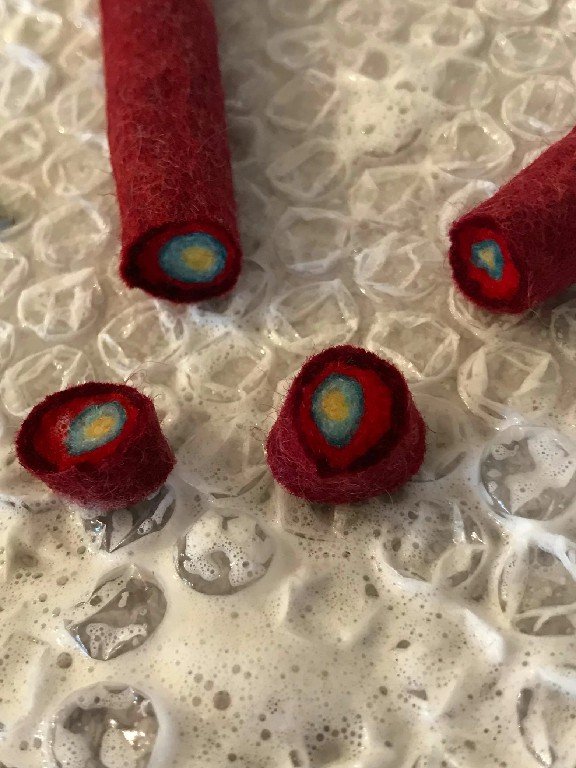
Cut into pieces.Then I wash them out in a vinegar solution.

Eh presto…..finished. And ready for anything fancy.I think they look rather cool.


